
Mixing Vocals Like a Pro With the Apogee/Bob Clearmountain Neve 8068 Plugin (Part 3)
Welcome back to the Home Recording Made Easy blog! If you’re a musician or home studio owner looking to add some serious analog flavor to your mixes—without the budget for real studio gear—today’s deep dive is for you. We’re continuing our journey mixing the track “ATM” by James D. Cooler, and this time we’re taking a close look at how to work magic on vocals with the absolutely killer Apogee Clearmountain’s Spaces Neve 8068 channel strip plugin. If you haven’t checked out Part 1 (drums) and Part 2 (bass and guitars), hit those up first—links are in the description.
So grab your DAW session, brew some coffee, and let’s dig in!
Table of Contents
A Quick Recap: Where We Left Off
Hey everyone—if you’re just joining, this is part three of my full-series guide on mixing a whole song, start to finish, with just the Apogee Clearmountain’s Spaces 8068 plugin. So far, we’ve already dialed in drums, bass, and guitars with a single plugin across all tracks. This time we’re heading straight for the vocals: lead, doubles, harmonies, backgrounds, and all those little “ad libby” bits.
Haven’t watched the earlier videos? No worries. Catch up here.
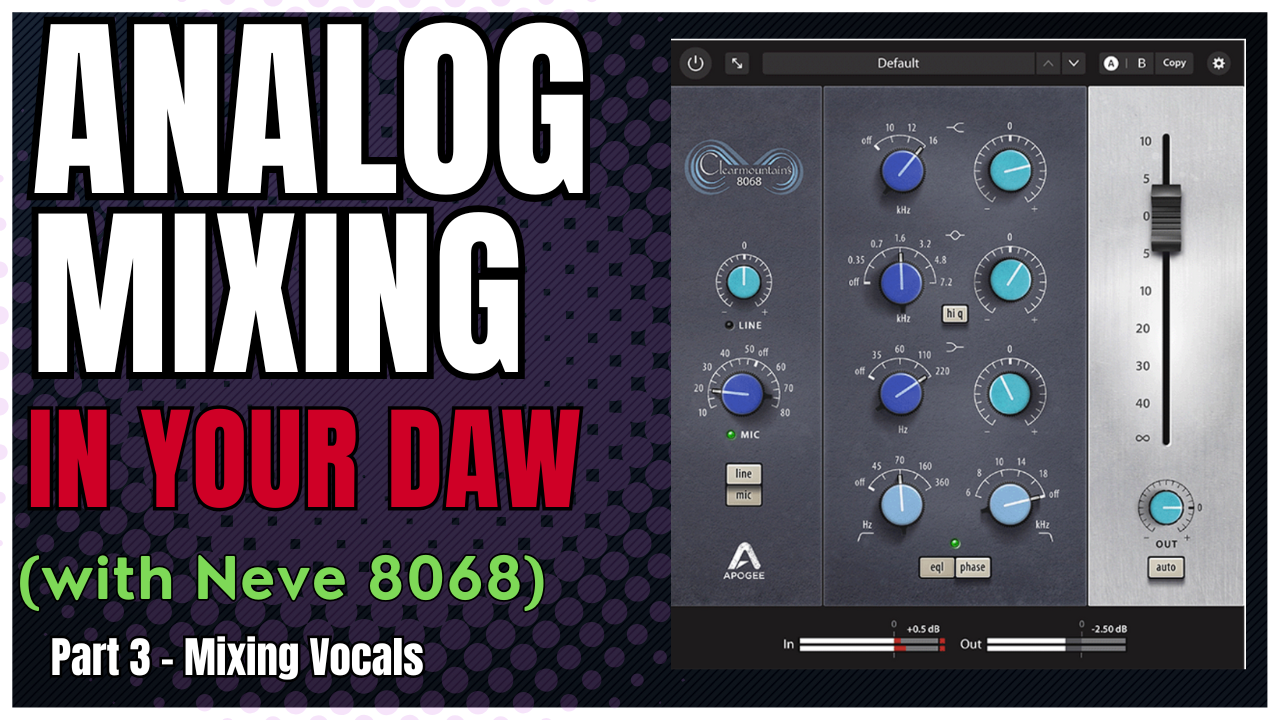
What’s the Neve 8068 All About?
Before we get our hands dirty, let’s talk about the gear. The Neve 8068 is a legendary mixing console—think classic rock records, warm and punchy, with an open top-end that just “sounds like a record.” Apogee teamed up with the one and only Bob Clearmountain to model Bob’s own late-‘70s console from Power Station. So what you get in this plugin is a slice of legit pro studio history, perfectly tailored for in-the-box mixing.
“If we want our mixes in the box to sound like those classic records, there’s an analog mindset you’ve gotta embrace. That’s what this plugin helps with.”
The plugin’s not sponsored—I’m running the demo, just because I think it’s cool. No strings, just real talk.
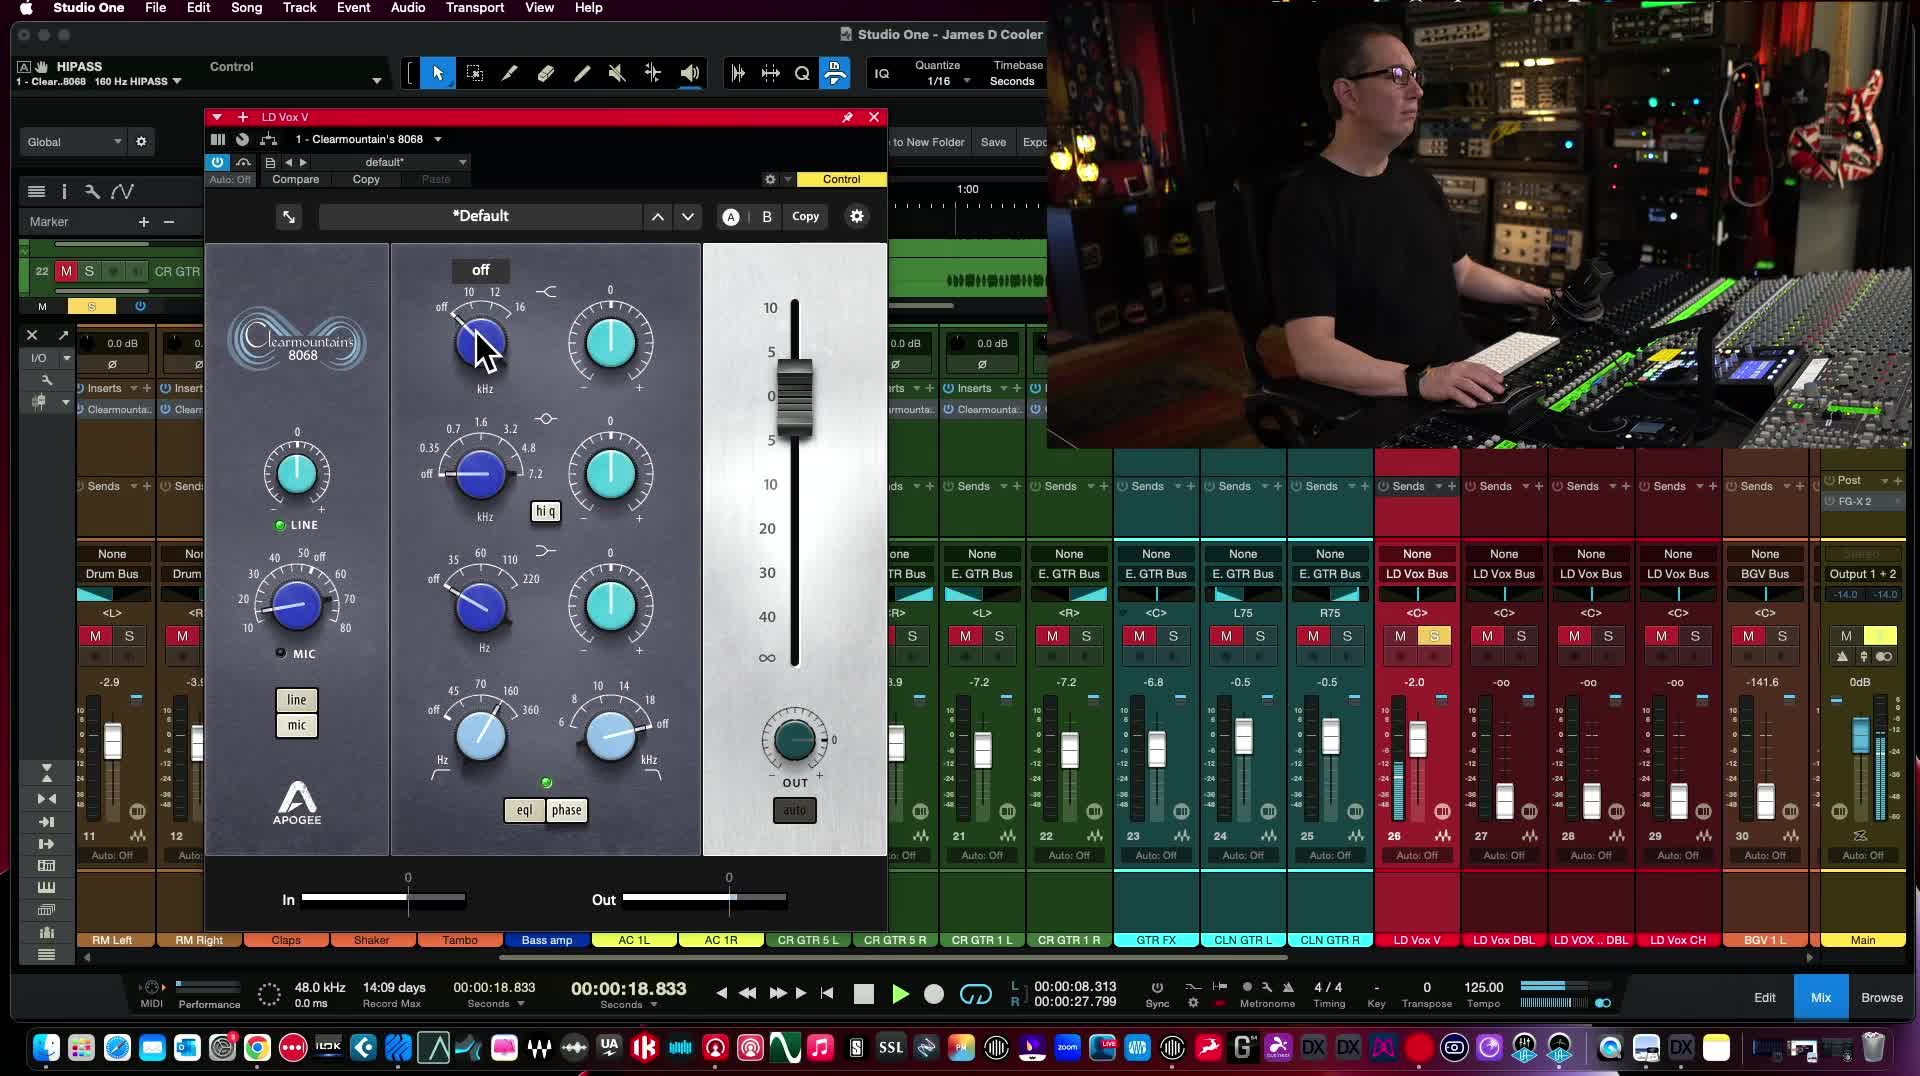
A screenshot of the Apogee Clearmountain Spaces 8068 interface, loaded up on vocals.
Why Work Analog Style in the Box?
This whole series is about taking your digital workflow and making it feel and sound more analog—even if you’re just using a laptop, audio interface, and headphones. Why?
-
Speed: Channel strips keep choices simple.
-
Consistency: One plugin across all tracks glues your mix.
-
Analog Vibe: The “mojo” of classic records—warmth, punch, openness.
And maybe most important: you mix faster and with better results. There’s a reason those big records were mixed on consoles like this!
Want to learn more? I’ve got a full training course on mixing with analog-style plugins—and a special offer for blog readers.
Session Setup & First Listen
Let’s set the stage. We’re working on James D. Cooler’s “ATM.” Again, all his links are below—go check out his music!
Waveform of James D. Cooler's "ATM" vocals in a DAW.
At this point in the session, the only plugin running on every track is the Neve 8068. (In future installments, we’ll hit up tape machines, bus compression, and more.) If you’re not familiar with the plugin, here’s a quick tour:
-
Input: Line/Mic selectors, for driving the preamp differently
-
EQ: Simple, intuitive controls
-
High Shelf (10, 12, or 16kHz)
-
Mid Band (bell, 350Hz–7.2kHz)
-
Low Shelf (35Hz–220Hz)
-
-
Filters: Low and high cuts
-
Phase switch, fader, output trim
-
Preset library: Try Bob Clearmountain’s starting points or save your own
Interface lets you resize, see value readouts, and tweak preferences. In short: it’s all about quick, musical, no-nonsense tweaking.
Mixing the Lead Vocals
Alright, let’s dig in on the main vocal track. First, let’s solo the vox and listen:
We never eversee it's a dumb way togetherNever gonna a problem that was a lieI don't wanna say but your heart's like the weather.You have a pretty smile when you ask for my car.Here’s how I approached it:
Step 1: Top-End Shine (Without Being Harsh)
-
High Shelf: Boosted about +6dB at 12kHz
-
Result: Opens up the vocal, gives it that classic Neve airy top, without brittleness.
Step 2: Low-End Cleanup
-
Low Cut Filter: Cleared buildup around 200Hz and below.
Step 3: Balance In the Mix
Once you drop the vocal back in, that “EQ glue” just works. One of the coolest bits about channel strip mixing is how natural and cohesive everything starts to sound, especially when you use the same flavor all over.
“The thing about this plugin—and channel strip mixing in general—is you get a cohesion when you throw these across all the tracks. Everything just sounds better.”
Side-by-side before/after vocal EQ curve.
Doubling Down: Vocal Doubles and Harmonies
Next up: let’s tackle vocal doubles and stacked harmonies.
James’ track has a bunch of doubled vocals, especially leading up to the chorus and in the chorus itself. Each layer’s got a slightly different character, which is exactly what gives big vocal mixes their richness!
The Approach
-
Solo the Double: Listen for differences. Sometimes it’s tighter, sometimes looser, but that’s the magic.
-
EQ Slightly Differently:
-
Don’t just copy and paste the original’s settings!
-
For the first double, maybe boost a touch of low mids.
-
For the second double, grab a little more top end.
-
This keeps the blend thick but not muddy or “phasey.”
-
For example, I hit one double with a bit at 10kHz and a light push around 4.8kHz, while on the paired original, the main boost was at 12kHz.
DAW mixing window illustrating stacked vocal tracks with slightly different EQ settings per layer.
EQ Secrets: Stacking Channel Strips
Ever noticed how not every track needs the same exact EQ? This is especially true for vocal stacks and doubles:
"I'm not EQing at the same points on both tracks. ... I'm not putting those two tracks together and getting too much boost in one particular frequency."

Pro Tip: When stacking vocals, vary your EQ moves just a bit. If each layer is hyped at the exact same spot (say, massive 12k on all tracks), you risk making things brittle or harsh. Instead, shuffle the frequencies and keep it “organic.”
Insert the Neve 8068 on each double, pan them wide, and you’ll get that ANTHEMIC, radio-ready feel. It always surprises people how lively stacks sound—before even touching reverb or delay.
Background Vocals: Wide, Rich, and Cohesive
No great vocal mix is complete without backgrounds and ad-libs. Let’s get after it.
Routing Backing Vocals
All background parts are bussed to a dedicated “BGV” track (if you haven’t set that up—do it now). This keeps things neat and lets you process groups when you want that glossy wall-of-sound.
Panning for Size
Classic trick: alternate left, right, left, right panning. Backgrounds should complement the lead—never fight it.
Should You Process Individually or as a Group?
-
Individually: Lets you treat each voice for max clarity.
-
On the bus: Quick and great for “glue,” but you lose some detail control.
Here, we did a bit of both for demonstration.
EQ Moves and Subtle Compression
-
A touch more aggression on the mic/line preamp on BGVs for a hint of crunch and excitement.
-
Boost the high shelf just enough to make things shimmer, but always be careful with sibilance—if things get “sssy”, throw a de-esser in a pinch.
Here’s what the stack, with the 8068 plugin on every BGV, sounds like:
Sweet baby I don't need youYou better find another ATMLife means more, don't spend my moneyI'm not the one who's gotta pay ...The result: lush, open, silky background vocals that make the chorus lift.
DAW project window showing BGV panning and group bus levels.
A/B Magic: The Power of One Plugin
So—what happens if we bypass all the 8068 instances?
After dialing in every vocal layer (lead, doubles, BGVs, ad-libs), I did just that. Watch what happens as you flip the plugin on/off across the board:
-
With the plugin active: Vocals are glued together, lively, “finished.”
-
Without: Mix is flabby, flat, lacking bite and coherence.
“Just keep your eye on the power button ... you can hear the accumulative effect.”
This is the big secret—not thousands of plugins, not endless tweaking. Just one, legendary-sounding strip everywhere.
Compression, Or Not?
Here’s the kicker: There’s no vocal compressor anywhere on this mix.
Not on the lead, not on the backgrounds. And you probably wouldn’t have noticed, right? That’s the hidden beauty of analog-modeled strips:
-
Built-In Squeeze: The preamp section, even when not “marked” as a compressor, does a bit of dynamic control just by nature.
-
Less Overprocessing: If the vocal performance is solid, sometimes all you need is the strip.
Sure, super-dynamic pop vocals or genres with wild swings might still need a compressor or limiter, but for most well-captured vocals, the Neve 8068 alone gets you 90% of the way.
“Let the channel strip do the work. That’s one of the secrets to working this way.”
Mixing Philosophy: The Analog Mindset
Why does this approach work—especially for home recordists and DIY mixers?
-
Fast workflow. Fewer choices means less rabbit-holing.
-
Consistency from song to song. You build a signature sound.
-
Less plugin overwhelm. Get to know your tools—instead of chasing trends.
-
Your mixes just “sound like the records you grew up with.”
It’s tempting to reach for all the toys—especially with so many plugins available. But most pro mixers will tell you: it’s about using a few tools, really well.
Before/after “analog mindset” mix—stacks of plugins on the left, simple Neve strip on the right.
Wrapping Up: The Channel Strip Mix
So where does this leave us?
-
Drums: Mixed with only the 8068.
-
Bass & Guitars: Likewise—no frills, just that one channel strip.
-
Vocals (lead, doubles, backgrounds, ad-libs): Yep, just the 8068.
No bus processing, no master bus effects, no reverb or delay (yet!). And already, the mix is glued, exciting, and professional-sounding.
Next Steps
Next time, we’ll add some bus compression, reverb, and maybe a little “secret sauce” to fine-tune everything. But don’t sleep on just how far you can get mixing with a solid channel strip on every track.
Standout Quote
“This is the secret behind thinking like you're working analog when you're working digital.”
Resources, Links, and Special Offers
Artist Shout-Out: James D. Cooler – “ATM” (all links in the description!)
Plugin Info: Apogee Clearmountain's Spaces Neve 8068 plugin
(Not sponsored, not an affiliate link!)
Training and Freebies:
-
Free Mixing Course!
Grab my $100 mixing course for free, just for visiting HomeRecordingMadeEasy.com -
Brand New Training:
Mixing with Analog Style Plugins Made Easy (2025 Edition) -
25% Discount:
Use codeYOUTUBE25at checkout for a discount on my full analog-style mixing course.
YouTube Channel:
Home Recording Made Easy on YouTube
Pro Tips and Takeaways
-
Use one channel strip everywhere for real glue.
-
Tweak each EQ slightly for vocal doubles/stacks.
-
Don’t always reach for compressors first—see what the preamp and saturation can do.
-
Pan your backgrounds for that wide, pro sound.
-
Think analog, even in the box.
Join the Conversation!
What’s your favorite channel strip plugin? Ever tried mixing this way? Drop your thoughts, questions, and tips in the comments below—I reply to every single one, and I’d love to know what YOU’RE using in your DAW.
Until next time, keep making great music.
—Dave, Home Recording Made Easy
“Final plugin count: one!”
P.S: Stay tuned for Part 4, where we’ll add reverb, bus compression, and break down exactly how to choose and use compression for vocals and more. Don’t forget to like, share, and subscribe, or check out HomeRecordingMadeEasy.com for even more studio wisdom. See ya in the next video!

