
5 Real-Time Mix Decisions From a Live Session: Tape Saturation, EQ Spacing, and a Vocal Reverb Fix
Mixing Academy Session Breakdown
In the same "Where the Wind Blows" mix-along, coach David Vignola makes five judgment calls out loud: driving tape hard enough to skip a compressor, spacing EQ boosts across busy percussion, running two different EQ curves on doubled guitars, choosing to feature a piano over an electric guitar, and switching reverb presets until a lead vocal finally opens up.
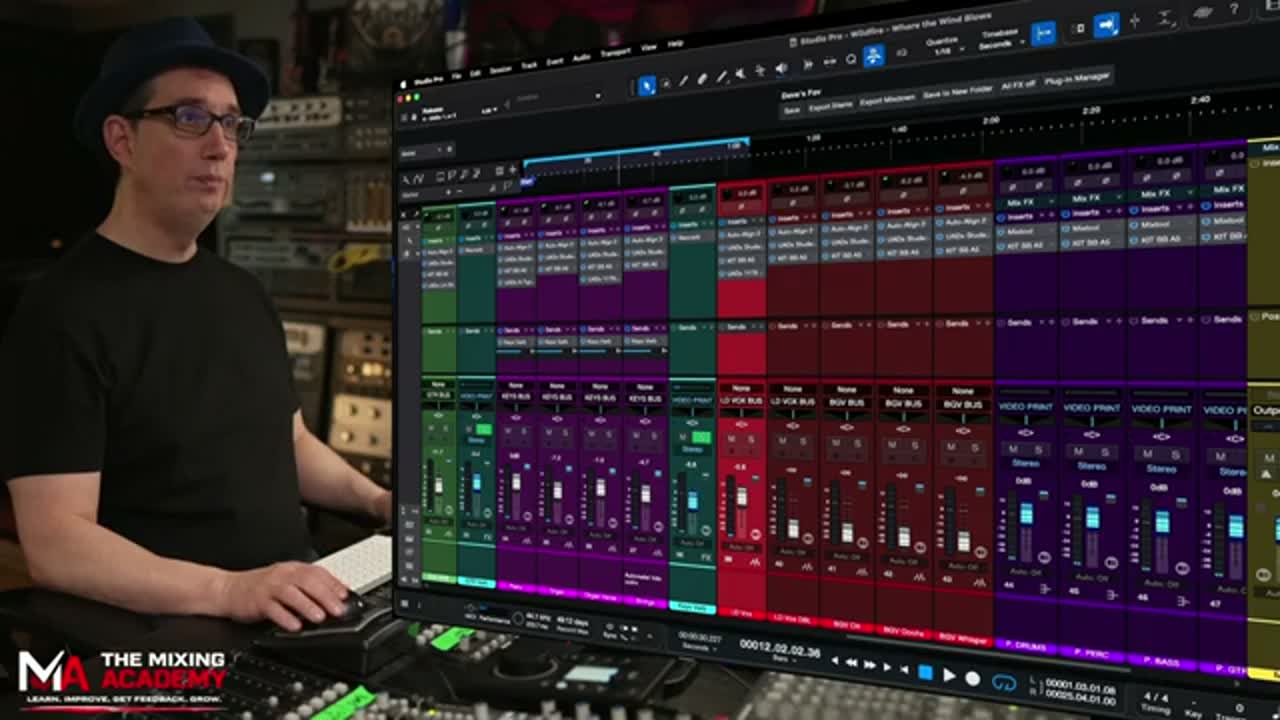
This post breaks down five real-time mixing decisions from a live Mixing Academy session: pushing tape saturation hard enough to stand in for a compressor, spacing EQ boosts across bongos and tambourine so they don't build up in the same frequencies, running two different EQ curves on a pair of hard-panned acoustic guitars, choosing to feature a piano over an electric guitar (and tucking the piano in with a barely-there LA-2A), and auditioning reverb presets until a lead vocal finally opens up.
Every one of these is a judgment call made on the fly, not a fixed recipe, and the reasoning behind each one is what's worth taking into your own sessions.
Below, we walk through each decision in the order David made it, with the exact settings and plugins where he named them.
This session comes from The Mixing Academy's monthly live mix-along, working on "Where the Wind Blows" by Laney and the Wildfire. Credit and thanks to Mark and the band for the multi-tracks. Watch the full session on YouTube.
1. Hitting the Tape Hard Enough to Replace a Compressor
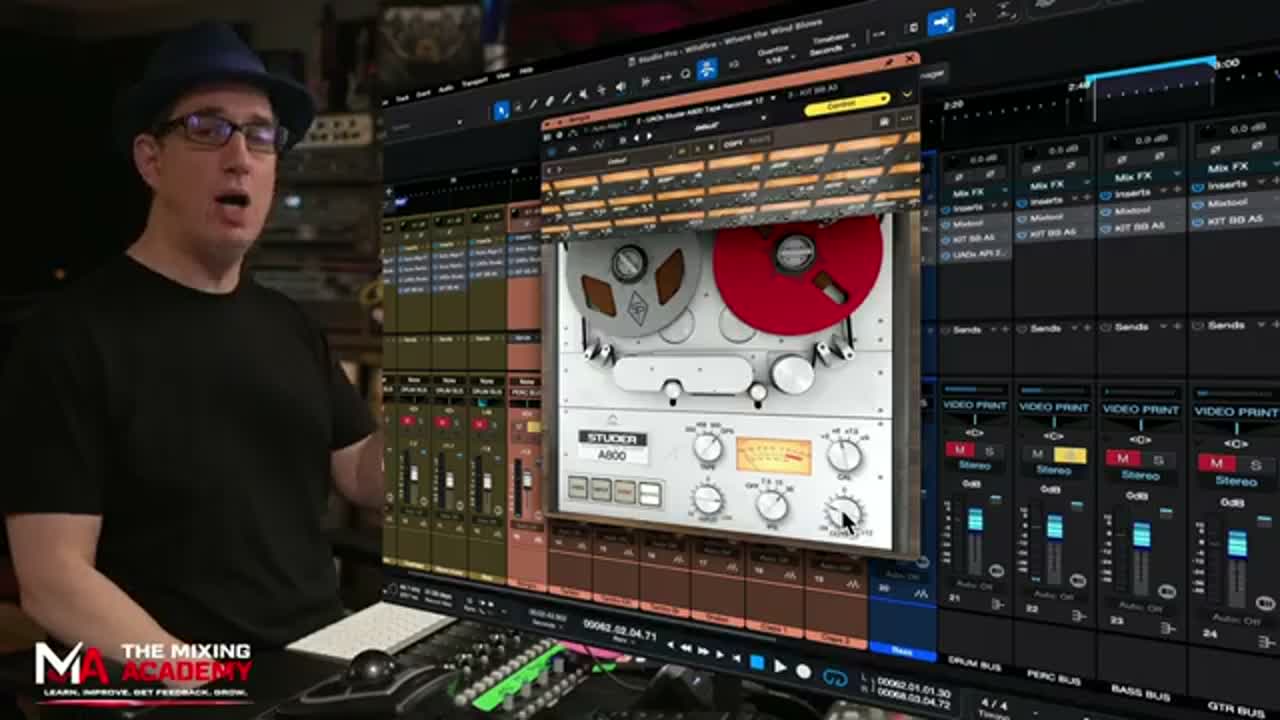
"I'm taking them up 12-15 dB and just lowering the output to level match it. I'm hitting the tape hard." David Vignola, 0:44
Tape doesn't just add color. Above a certain input level, magnetic tape starts to compress the signal on its own: the harder you hit it, the more the peaks get rounded off. David treats that behavior as a real gain stage, not a side effect.
"It acts as a compressor. That's what it does. That's what tape does. Yes, it gives you some other benefits, some color, harmonic content, a little bit of smoothing of the top end, but it compresses. The harder you hit it, the more compression you get." David Vignola, 1:09
Why this means less work from the compressor plugin
Because the tape stage is already doing part of the compression job, David needs less help from the actual compressor plugin later in the chain.
"This does more for that than the actual plugin does... So, therefore, it means I don't have to use as much compression." David Vignola, 1:28
He sums up the whole approach in five words: don't be afraid to hit the tape.
Try This In Your Own Mix
Before reaching for a compressor on a percussion or drum bus, try driving a tape saturation plugin 10 to 15dB hotter than usual, then pull the output down to match your original level. Listen for peaks rounding off on their own. If the transients are already softened, dial back whatever compressor you'd planned to add next, you may need far less of it.
2. Spacing Out EQ Boosts So Layered Percussion Doesn't Clash
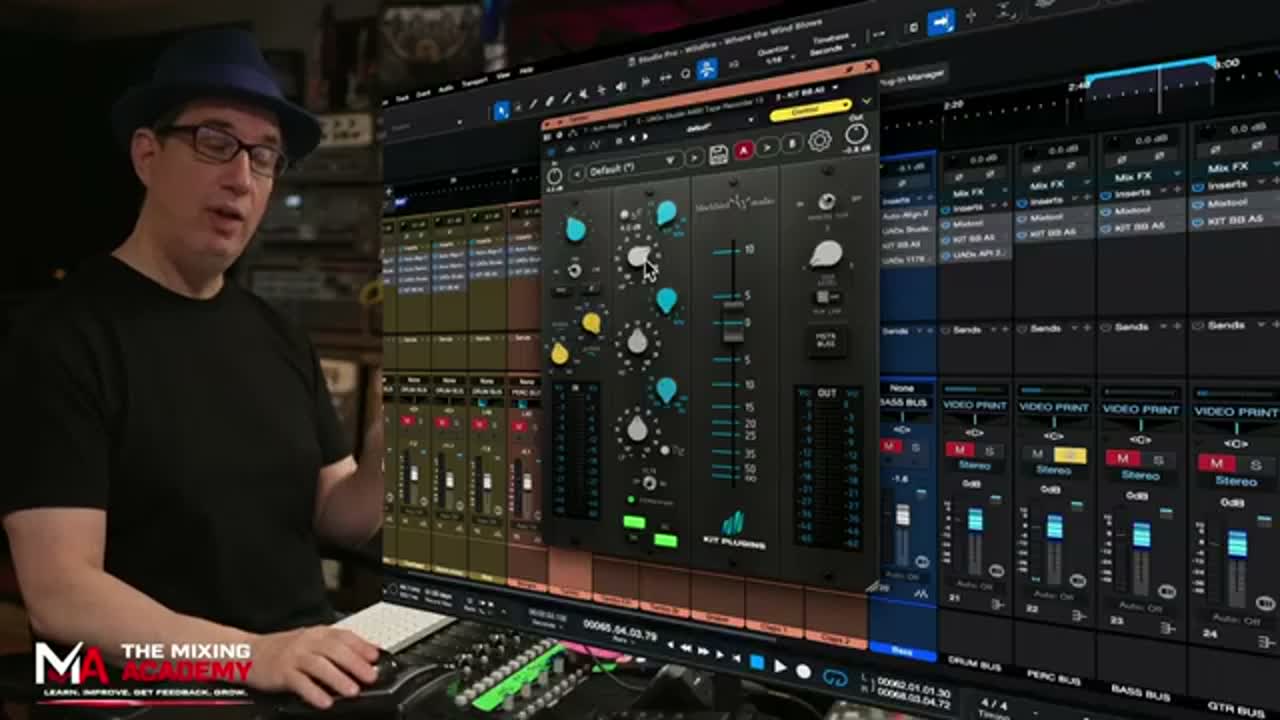
"On all this percussion, it's all playing at the same time when I'm boosting the top end, I mean careful to not boost the same frequencies on all these instruments. So, on the bongos I did about 5K. On the tambourine I'm doing about 10K." David Vignola, 2:15
The principle is straightforward once you hear it named: any two instruments playing at the same time and boosted at the same frequency will build up together at that frequency, whether or not that's the sound you actually want. Spacing the boosts out, one instrument lifted around 5kHz, the other around 10kHz, lets each one read as bright and present without doubling up on the same slice of the spectrum.
"I don't want to boost everything at 5K or 10K. You don't want too much build up. Try to spread that top end out a little cuz these are all playing at the same time." David Vignola, 2:28
Try This In Your Own Mix
Next time you're EQing two or more percussion or rhythm elements that play simultaneously, write down the frequency of every top-end boost you make. If two instruments are boosted within a narrow band of each other, move one of them at least an octave away instead of stacking both boosts in the same spot.
3. Two Different EQ Curves for Doubled, Panned Acoustic Guitars
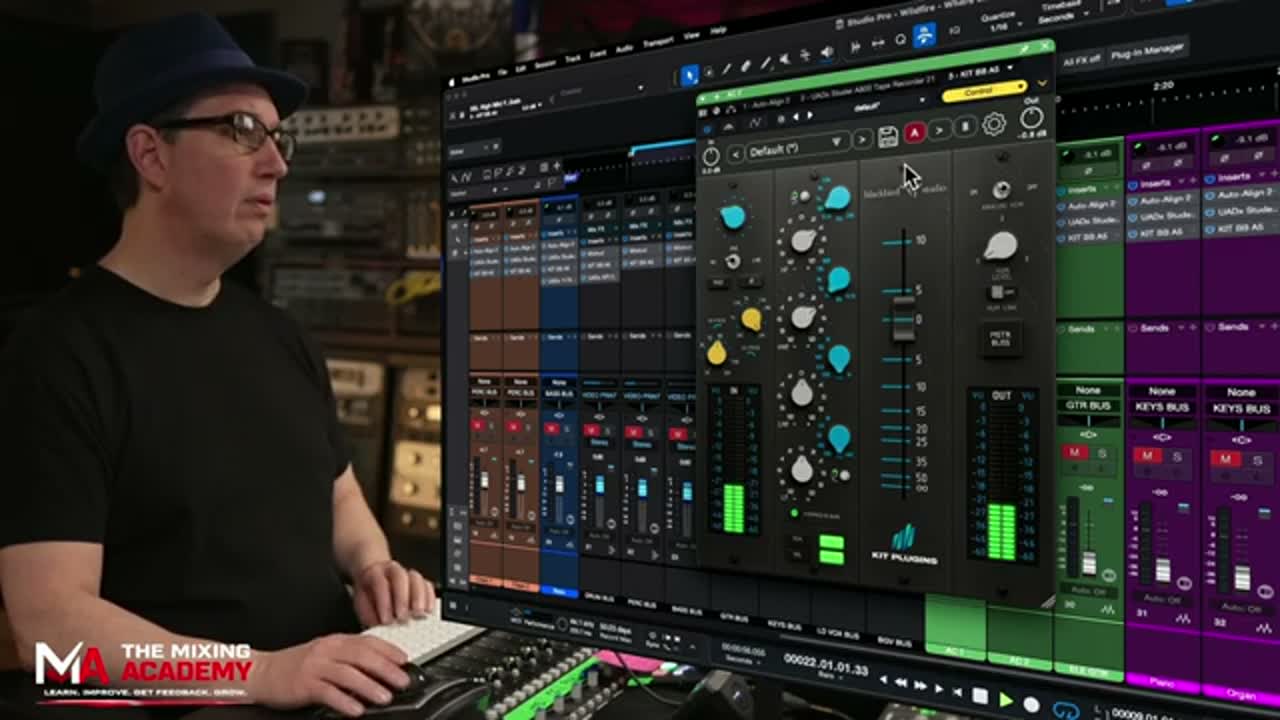
"Going to try a different flavor of EQ. We'll go to the 560 on this one." David Vignola, 3:49
The EQ he switches to here is the BB 56L, KIT Plugins' recreation of the API 560L graphic EQ used at Nashville's Blackbird Studio, the same API-modeled console character that shows up as his channel strip elsewhere in this session, called in specifically for a different tonal flavor on this one guitar.
Why two EQ curves instead of one
Once both acoustic guitar takes are in place, he explains the reasoning out loud.
"Means two different EQs on the acoustics cuz they're going to go hard left and right. Just to change it up a little and I might even change up the frequency points a little." David Vignola, 5:08 - 5:15
Two guitar parts that are recorded and played nearly identically, then EQ'd identically, and panned hard left and right can end up sounding like one part smeared across the stereo field rather than two distinct performances. Running a different EQ curve, sometimes even a different EQ plugin altogether, on each side breaks that symmetry and gives each guitar its own identity in the stereo image.
"So, I got a little bit different frequency points here. Want to pan these hard left and right, right? Of course, that's what we're going to do." David Vignola, 5:46
Try This In Your Own Mix
If you're doubling and hard-panning two takes of the same part, whether it's acoustic guitar, a doubled vocal, or a synth layer, resist EQing both sides with the exact same curve. Nudge the frequency points on one side even slightly, or switch to a second EQ plugin entirely, so the two sides read as distinct rather than a mirrored copy of each other.
4. Deciding What to Feature: Piano Over Electric Guitar, Tucked In With an LA-2A
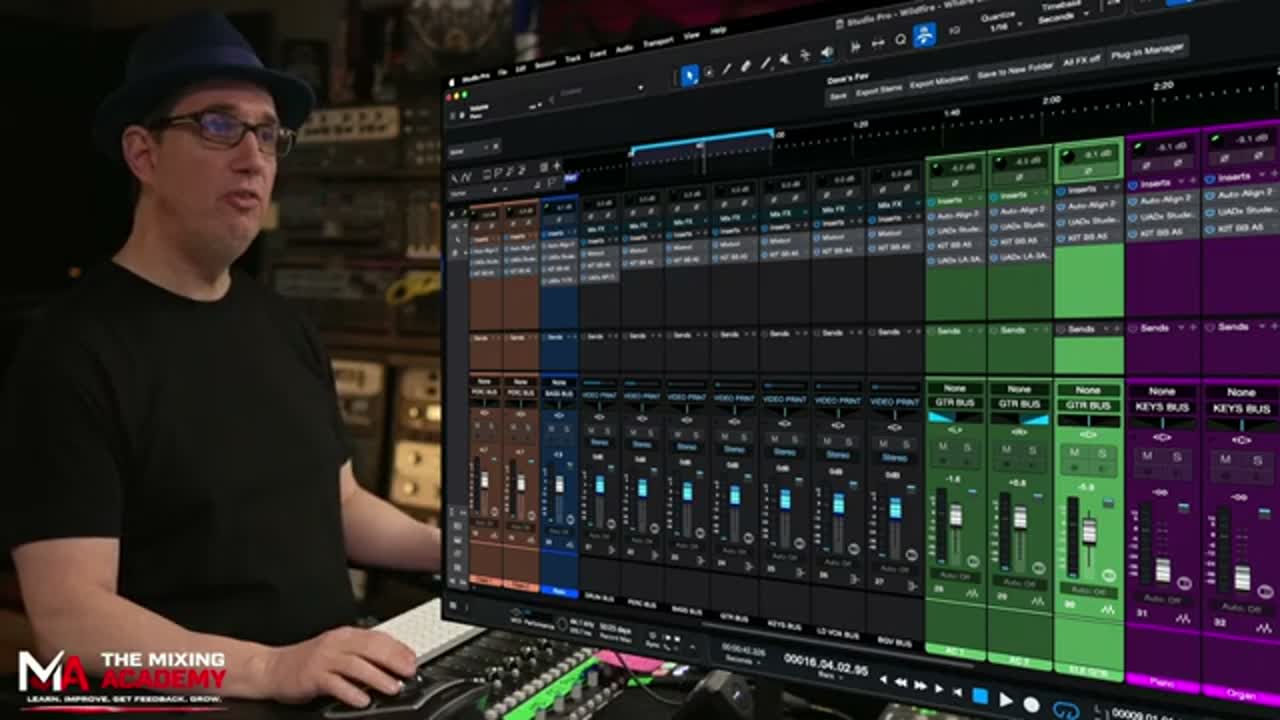
"Honestly, this is going to be more of a filler. The piano is going to be louder than the lead vocal. And I know this cuz Laney and the Wildfire, the lead vocalist, she is also Laney. She is also the piano and the key player." David Vignola, 7:17
That single fact about who's playing what changes the whole balance decision. Because the piano part belongs to the same performer as the lead vocal, David treats it as a second lead voice rather than a background texture, worth pushing up ahead of an electric guitar part that has plenty of other places to sit in the arrangement.
"Piano's way more going to be a featured instrument than the electric guitar. So, I just need something transparent to just kind of tuck it in the in the pocket. That's all I need. I don't need anything fancy." David Vignola, 8:01
Tucking it in with an LA-2A
"Let's just slap an LA-2 on there. Why not, right? We'll go with the LA-2 silver. We'll just tuck a little LA-2. We're just going to just just grab the peaks. Nothing crazy." David Vignola, 8:14
Notice what he's not doing: no elaborate multiband processing, no ratio or attack discussion, because the piano is already the instrument he wants heard. The compressor's only job here is gently catching the loudest peaks so the part sits evenly, using the LA-2A, a compressor known for smooth, program-dependent leveling rather than aggressive pumping, in its silver-faceplate variant.
Try This In Your Own Mix
Before defaulting to a standard instrumentation hierarchy (vocal, then guitar, then everything else), check whether one of your background instruments is actually played by your lead vocalist or the song's most important performer. If it is, consider featuring it more than convention would suggest, and keep the compression on it minimal and transparent so the featured status comes from the fader, not from squashing.
5. The Reverb Preset Switch That Finally Opened Up the Vocal
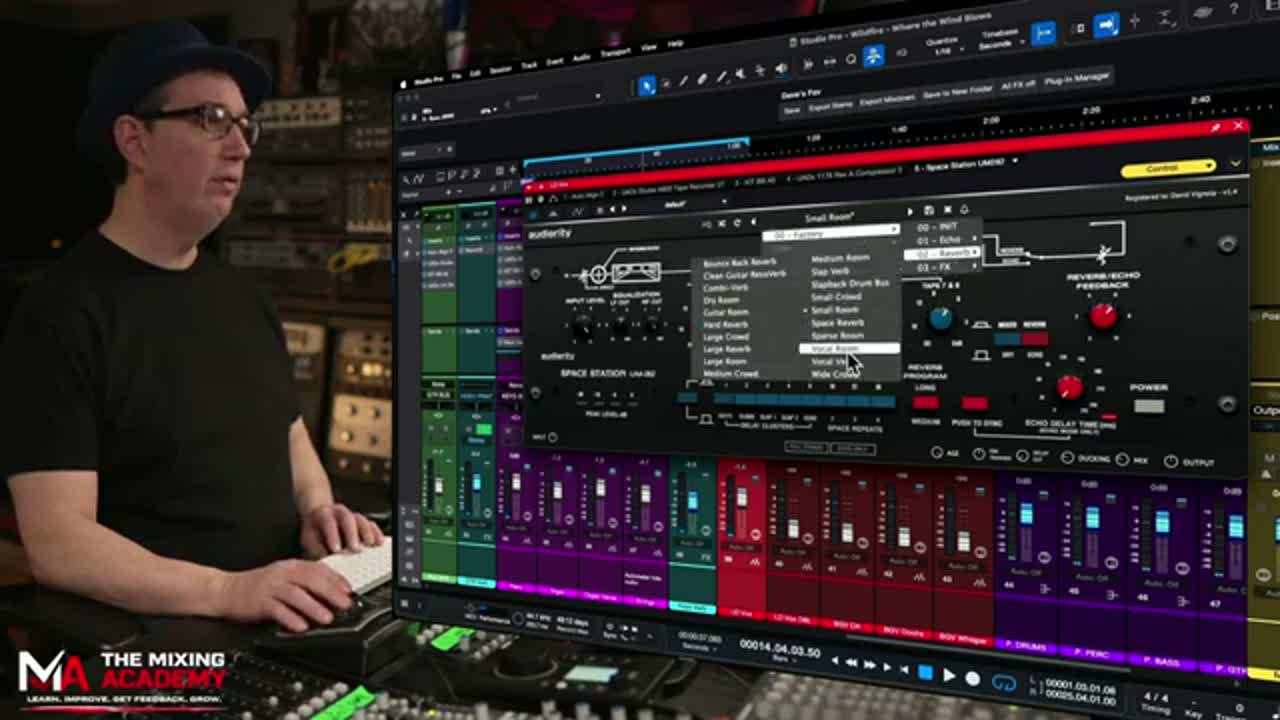
"I'm not sure that I'm really digging. I mean, it's okay. It's okay. It's okay." David Vignola, 14:55
He switches to a reverb plugin modeled on a vintage rack unit, Audiority's Space Station UM-282, specifically because a preset on it had already worked well on a different part of the mix earlier in the session.
"Because it gave it that fatness and that openness, I'm going to put it on here." David Vignola, 15:29
He dials the effect in with a low wet mix rather than committing to a heavy send.
"I'm going to now do it as a mix. I'm going to turn down the mix to about 10, 15%." David Vignola, 15:34
Landing on the Vocal Room preset
After also auditioning a small room preset he says he'd never typically reach for on a vocal like this, David settles on a preset called Vocal Room.
"That doesn't sound bad either, but I'm going to go back to the vocal room. Let's try that. Turn down the mix." David Vignola, 18:04
"I kind of like it, man. It feels like it just gives it... I feel like that's giving it what it needs." David Vignola, 18:42 - 19:30
The lesson isn't "use the Vocal Room preset." It's the process: David auditions multiple reverb types on the same vocal, at a low wet mix so the effect stays supportive rather than washy, and picks based on whether it makes the vocal sound more open, not just more reverberant.
Try This In Your Own Mix
On your next lead vocal, audition at least two or three reverb presets, even ones you wouldn't normally reach for, at a low wet mix around 10 to 15%. Judge each one by whether it makes the vocal feel more open and present, not by how much reverb tail you can hear.
What Worked, and What to Watch For
What Worked
- Driving tape hot enough to do real compression work on the percussion bus meant less reliance on a compressor plugin later in the chain.
- Spacing EQ boosts across different frequencies on simultaneous percussion instruments kept each one audible instead of stacking energy in one spot.
- Running two different EQ curves on the doubled, hard-panned acoustic guitars gave the stereo image two distinct parts instead of one smeared one.
- Recognizing that the piano and lead vocal shared the same performer justified featuring the piano over the electric guitar, a balance call most engineers wouldn't make by default.
- Auditioning multiple reverb presets at a low wet mix, rather than committing to the first one, is what actually found the setting that opened the vocal up.
What to Watch For
- Hitting tape 12 to 15dB hot only replaces a compressor's job up to a point; it won't catch a wild outlier peak the way a fast-attack compressor will, so keep an eye on your meters.
- Spacing EQ boosts an octave or more apart works well for percussion playing at the same time, but if your instruments trade off rather than overlap, the same-frequency boost you were avoiding might be fine.
- Running different EQ curves on doubled parts assumes the takes are already close to identical. If your doubled performance already has big natural differences, you may need less deliberate EQ separation, not more.
- Featuring a background instrument over a more expected lead instrument is a judgment call specific to this song's arrangement. It won't apply to every band or every mix.
- A low reverb mix percentage, like 10 to 15%, suits this song's dry, upfront production style; a more ambient or ballad-style mix may call for a wetter setting.
FAQ
Can tape saturation actually replace a compressor?
Not entirely, but it can do a meaningful part of the job. Driving a tape machine plugin hot, 10 to 15dB over unity, then pulling the output back to match level, introduces real compression as tape naturally rounds off peaks the harder it's hit. It won't catch an extreme outlier the way a fast compressor will, but it can reduce how much compression you need to add afterward.
How do I stop layered percussion from building up in the same frequencies?
Boost different top-end frequencies on each instrument instead of the same one. In this session, bongos got a boost around 5kHz while the tambourine got its boost around 10kHz, spacing the two apart so neither instrument's boost stacks on top of the other.
Why would I EQ two doubled guitar tracks differently if they're the same part?
Because identical EQ on two hard-panned, doubled takes can make them read as one smeared part instead of two distinct ones. Shifting the frequency points, or switching EQ plugins entirely, on one side gives each guitar its own identity in the stereo image.
How do I decide which instrument to feature when two instruments compete for space?
Consider the context beyond the notes themselves. In this session, the piano was played by the same person singing lead vocal, which justified pushing it up ahead of an electric guitar part with more room elsewhere in the arrangement. When there's no such tiebreaker, the instrument carrying more of the song's melodic or harmonic identity usually wins.
What reverb preset makes a vocal sound more open?
There's no single preset that works on every vocal. What matters is the process: try a few different reverb types, a room preset, a dedicated vocal preset, even ones you wouldn't normally reach for, at a low wet mix around 10 to 15%, and judge by whether the vocal feels more open, not by how much tail you hear. In this session, a preset called Vocal Room on the Audiority Space Station UM-282 won out over a couple of room-style alternatives.
I don't use UAD, KIT Plugins, or Audiority. Does any of this still apply?
Yes. None of these five moves depend on owning these specific plugins. Any tape saturation plugin can be driven hot to add compression, any EQ can space out boosts across instruments or run different curves per side, any smooth compressor can gently tuck a featured instrument, and any reverb plugin with a handful of presets can be A/B'd at a low wet mix to find what opens a vocal up.
Quick Recap
- Tape as compression: drive the tape plugin 12 to 15dB hot, level-match the output, and lean on it instead of a compressor.
- Percussion EQ spacing: Boost bongos around 5kHz, tambourine around 10kHz. Keep top-end boosts for simultaneous instruments apart.
- Doubled acoustic guitar EQ: run two different EQ curves, different frequency points, and sometimes a different plugin, on hard-panned doubled guitars.
- Feature decision plus LA-2A tuck: push the piano over the electric guitar because the pianist is also the lead vocalist, then tuck it in with a transparent LA-2A silver catching just the peaks.
- Vocal reverb: audition multiple reverb presets at a low 10-15% wet mix, settling on the Space Station UM-282's Vocal Room preset for its openness.
None of these five calls came from a plugin manual or a settings cheat sheet. They came from listening to what the track actually needed in the moment: percussion that was starting to clash, guitars that needed separating, a piano that deserved more room than convention would give it, and a vocal that wasn't opening up yet. That's the real skill on display here, not the specific gear.
Ready to Mix Like This Yourself?
This exact process, real-time balance calls, EQ spacing, and effect choices explained decision by decision, is what gets covered live inside The Mixing Academy's coaching calls every month. Use code ME25OFF for 25% off any single-title course (does not apply to bundles).
Useful Links
- Watch the full "Where the Wind Blows" mixing session on YouTube
- The Mixing Academy
- TK Audio Transformer HB Review: Flexible Analog Saturation in Your Studio Rack
- What's In My Plugin Browser? (Part 1): A Deep Dive Into My Current Plugin Collection
- Advanced Mixing Techniques for Enhancing Your Snare Drum
Questions? Comments? Drop them below!
Which of these five decisions would you have made differently, and what's your go-to move when two instruments are fighting for the same space in a mix?
These techniques reflect one engineer's real-time decisions on a specific live session. Treat them as a starting point to adapt to your own material, not a universal rule for every mix.

