
Mixing Drums with SSL Native Plugins: Step-by-Step Guide (Part 1)
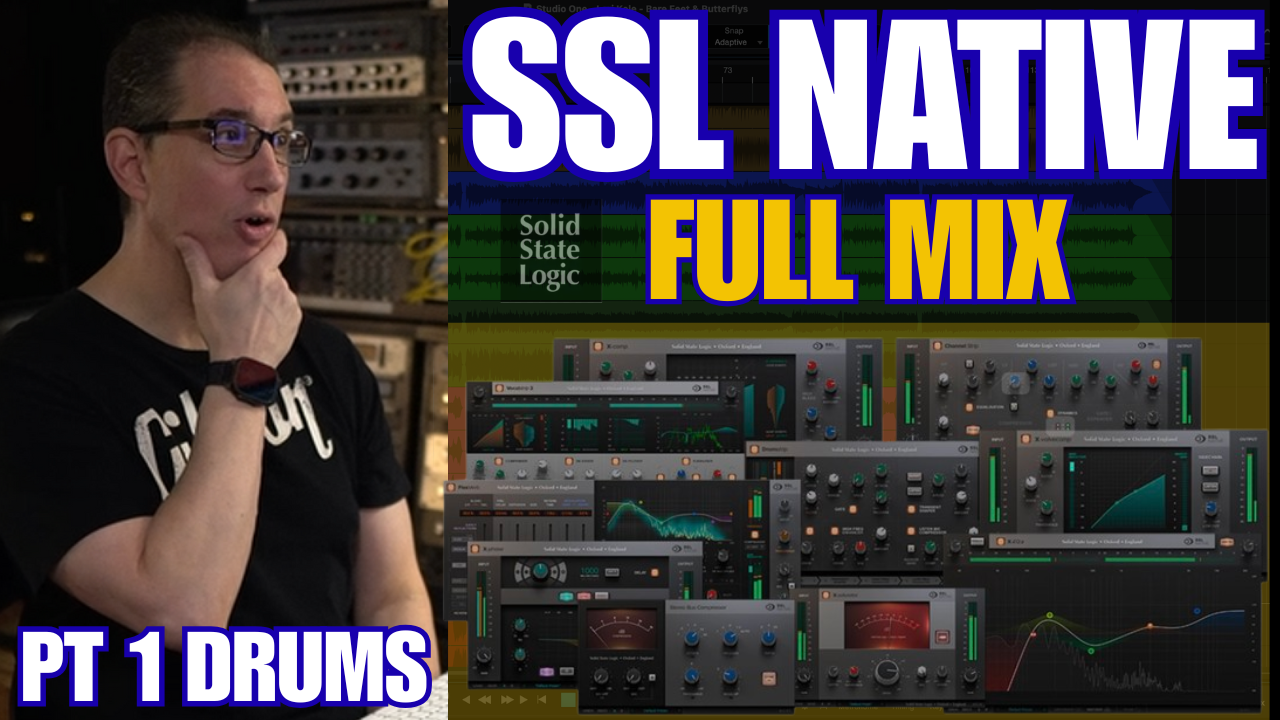
Welcome back, everyone! In today's post, we're kicking off part one of a deep-dive mixing series where we’ll take you through the entire process of mixing a full song—from start to finish—using only SSL Native plugins. This series is all about rolling up our sleeves, making real mixes, and seeing what SSL Native tools can do in a working session.
Whether you're a musician itching to polish your tracks, a home studio enthusiast, or just curious about the specifics of mixing drums with pro plugins, you’re in the right place. Let’s jump right into the action!
Table of Contents
Series Overview
So, what’s this series all about? I asked you guys in a YouTube poll which plugin suite you wanted to see featured in a full-scope mix. The two favorites were Universal Audio and SSL Native. Since SSL Native just launched their 4K Channel Strip, it seemed like the perfect chance to dive in.
Over the next five videos (and posts), I’ll tackle every instrument and every step in the mix—using only plugins from the SSL Native bundle. Each day this week you’ll get a fresh video, so by the end, you’ll have watched me mix a whole song, real-time, plugin-by-plugin, move-by-move.
“We’re mixing a song from start to finish, only using the SSL Native plugins, including several I’ve never touched before. Let’s see what they can do in a real mix!”
Why SSL Native?
Let’s talk about why I’m focusing on SSL Native plugins for this series.
-
Classic Console Emulation – SSL has built a reputation for punchy, musical mixing consoles. Their software brings that signature sound directly to your DAW.
-
New Plugins to Explore – With the recent release of the 4K Channel Strip, there are some new colors in the SSL toolbox.
-
Versatility – The bundle offers multiple channel strips, compressors, saturators, and more, giving plenty of options for mixing different instruments.
-
Your Choice – Let’s be honest: you guys asked for it! I always want to deliver exactly what you want to see.
Session Setup & Track Layout
Before we get to mixing, let’s take a look at what’s on the table. The song featured in this series is “Imaginary Fears” by James D. Cooler, who played and produced every instrument. Big thanks to James for letting us dive into the multitracks!
Multitrack Overview
Here’s how the session is laid out:
-
Drums
-
Kick In
-
Kick Out
-
Kick Sub
-
Snare Top & Bottom
-
Hi-hats
-
Two Toms
-
Overheads (L/R)
-
Rooms (L/R)
-
FOC (“Front of Kit”)
-
Percussion
-
-
Bass
-
DI
-
-
Guitars
-
Clean Electric (two tracks)
-
Acoustics (L/R)
-
Five electric guitar tracks (two pairs plus one extra)
-
-
Vocals
-
Lead
-
Backgrounds (with pre-provided reverb/delay tracks)
-
-
Keys & Pads
-
Effects Placeholders
-
For SSL Tape, Reverb, and Delay plugins
-
-
Busing Structure
-
Drums, Bass, Acoustic Guitars, Clean Guitars, Electric Guitars, Lead Vocal, Background Vocals, Effects Bus
-
Master Output (“Video Print” for session capture)
-
Visualize the track layout with a DAW screenshot or a track list chart.
Note:
All channel strips and plugins start at default. No EQ, no balance, not even panning. We’re doing this from the ground up, so you learn not just the plugins, but the whole chain of thought behind every decision.
Master Bus Chain: Plugins & Settings
A great mix starts with a solid master bus chain (even though we’ll tweak this as we go). Here’s what’s loaded up, although everything initially starts bypassed:
Master bus plugin chain screenshot.
What’s Included on the Master Bus?
-
SSL Bus Compressor
-
10ms attack
-
Fast release
-
Only a couple dB of compression
-
-
SSL Fusion Series
-
Vintage Drive: Subtle analog-style saturation (Mix Bus 1 preset as a starting point)
-
Violet EQ: Slight boosts at 30Hz and 16kHz for low/top end sheen
-
Stereo Widener: Gentle width
-
Transformer: Additional color & vibe
-
-
SSL Saturator
-
Used for tape-like saturation since there’s no dedicated tape plugin in the bundle
-
Throughout the session, we’ll be toggling these on/off and making tweaks as the mix develops.
Mixing Drums: Detailed Walkthrough
This post is mainly about drums—and trust me, drums always take the most time. But a solid drum mix lays the foundation for the rest of your track.
Let’s break down each element.
1. Kick Drum
Kick In Mic
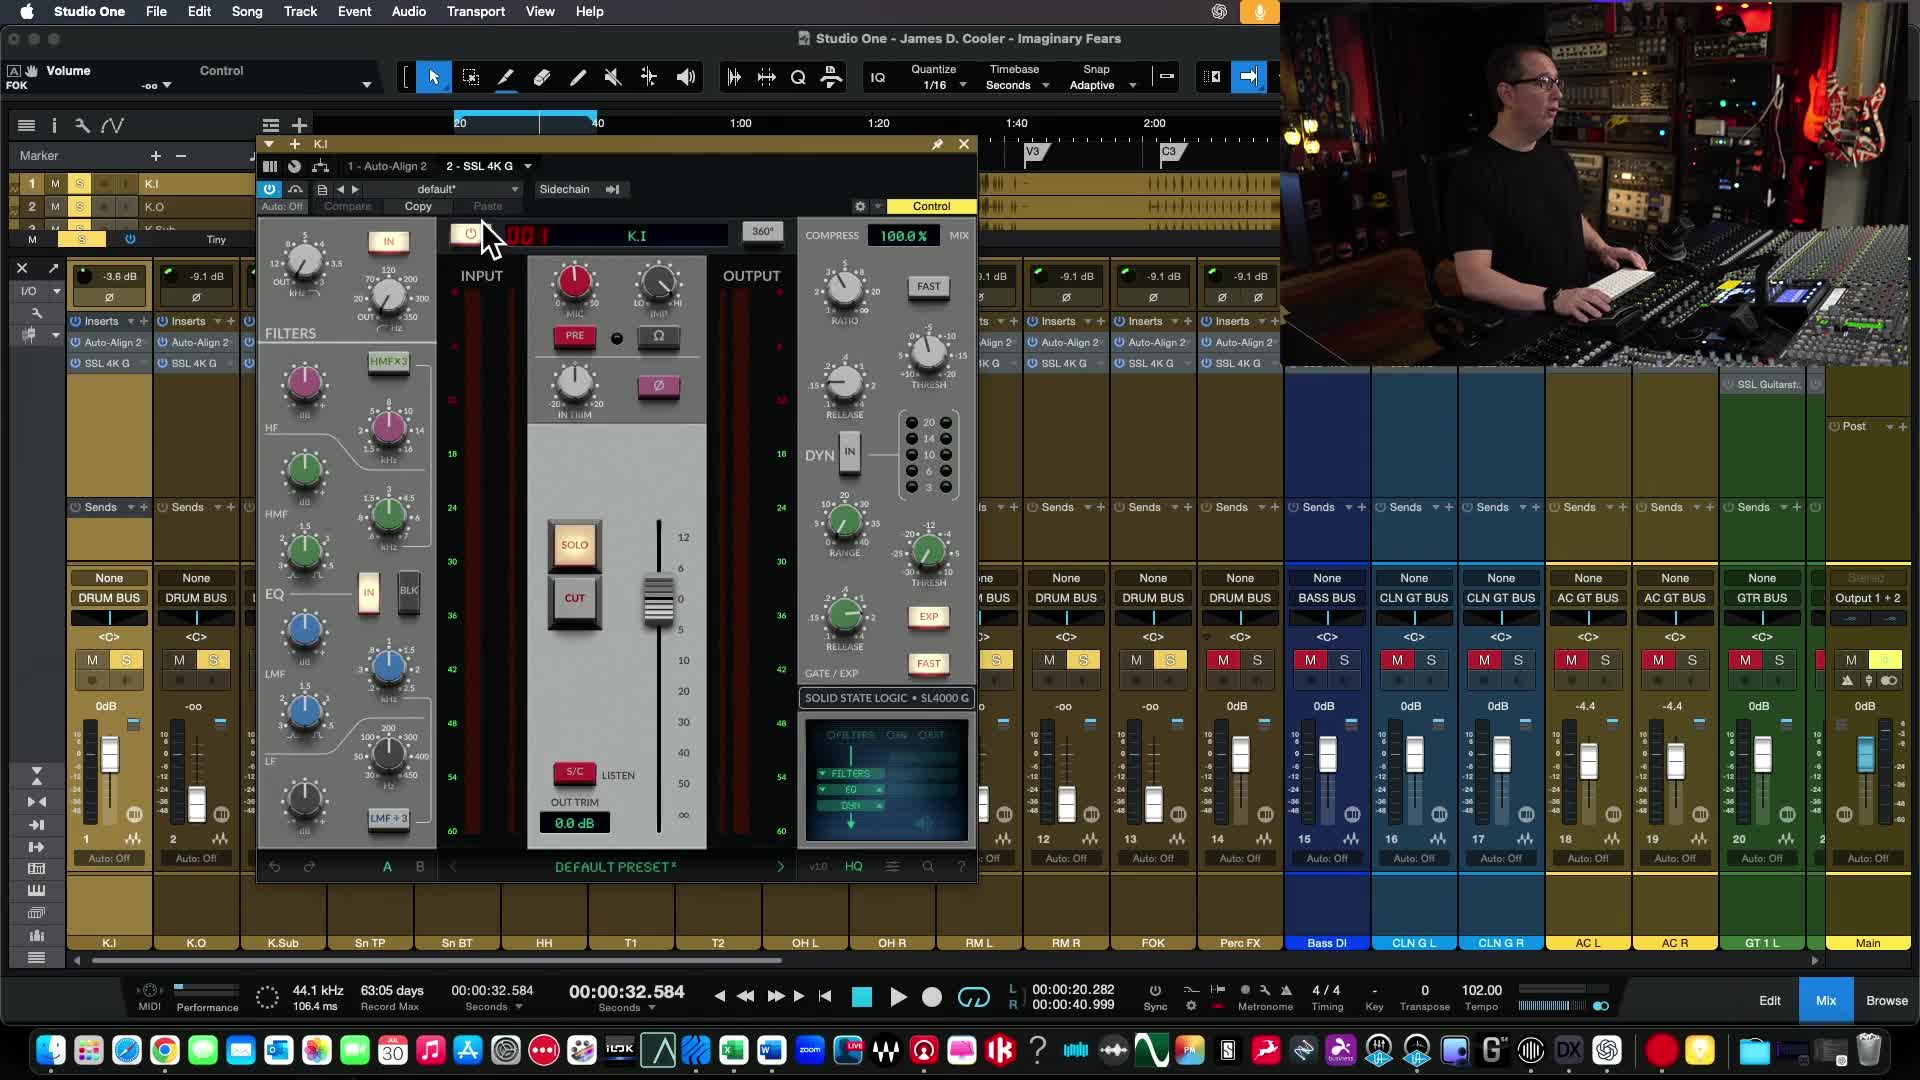
We’re starting with the brand new SSL 4K Channel Strip, engaging some default settings and then dialing in what the track needs.
-
Low Cut: To clean up rumble.
-
Mid Boost (AK): Adds “click” for attack.
-
Cut at 260Hz: Reduces boxiness.
-
Subtle Boost at 60Hz: Punch in the low end.
-
Preamp Modeling: Engaged for analog color.
-
Light Compression: About 3dB GR, 4:1 ratio, slow attack, fast release.
Blending in the sound, A/B before and after:
Pro Tip: “Use the VCA fader to push the console a bit—you get more of that SSL ‘glue’ feel.”
SSL 4K Channel Strip settings for Kick In.
Kick Out & Sub
-
Kick Out: Focused more on the bottom, using the gate to remove some snare bleed.
-
Kick Sub: Solo for sub bass energy; compressed gently.
Blending all three kick tracks for a full, rich low end. Used gates as needed to minimize bleed.
2. Snare Drum
Snare Top
-
Aggressive EQ: 4K’s EQ is more sensitive than the G/B, so small moves go far.
-
Add Body: Boosting lower mids.
-
Compression: 4:1, fast release, slow attack.
-
Preamp: Pushed for extra bite.
Snare Bottom
-
Added “bottom to the snare bottom” with a low-frequency boost.
-
Touched 5kHz for snap.
-
Compressed just to control/shape tail.
Before/after visual of snare top+bottom channel settings.
3. Hi-hats
Hi-hat mics often pick up plenty of snare. Sometimes that’s a good thing—here, not so much.
-
EQ: Carved out some hollowness around 500Hz, reduced snare bleed.
-
Light Compression: Only a touch.
“Sometimes a bit of snare in the hi-hat mic actually adds to your snare sound. This wasn’t one of those times!”
4. Overheads
Here’s where opinions differ: I don’t use a ruthless low-cut filter! Many engineers set this crazy high, but I want the overheads to capture a full snapshot of the kit.
-
Low Cut: Gently around 50–70Hz, not more.
-
Mid Cut: Small reduction to clear out boxiness.
-
Boost at 5kHz: Bring out snare/cymbal clarity.
-
Compression: Light.
Reasonable low cut on overheads—see the difference from the “extreme” method.
Don’t forget to check overhead phase against snare/kick!
5. Toms
Each tom got:
-
EQ: Added attack (boost ~1.5k–3kHz), reduced mud (cut ~200Hz), little bottom (~100Hz).
-
Compression: Just enough to control peaks and preserve fullness.
-
Preamp: Engaged/pushed for color.
-
Stereo Placement: Panned to match overhead image (audience perspective).
6. Room Mics
Room mics help bring “air” and size, even if you don’t use them loud. I avoid massive low cuts—want to feel the space!
-
Low End: Let some room rumble through, unless it muddies up.
-
Mids: Tiny reduction at 500Hz—just a bit to clear up woofiness.
-
Compression: Adds density.
Blend to taste, keeping them subtle—this song isn’t going for an ‘80s super-sized drum room, but we still want space!
7. Front of Kit Mic
This “FOC” or “front of kit” mic is a single microphone set near the drums for character/crush.
-
EQ: Emphasize lows for solid mid-punch.
-
Compression: Crush harder if parallel processing is desired later.
8. Drum Bus Processing
SSL Drum Strip and compressor on the drum bus.
On the drum bus, I’m using the SSL Drum Strip. It’s a killer multipurpose processor with:
-
Low Frequency Enhancer: Thicker, deeper subs.
-
High Frequency Enhancer: Snap, air, and shimmer (don’t overdo it!).
-
Transient Shaper: Tweak attack and sustain.
-
Optional Compression: Gentle to glue all drum mics together.
You can slide these modules around for different effects—try moving the transient shaper to the end of the chain for a different feel.
Standout Quote:
“A great drum sound isn’t just about individual tracks, but how they blend and hit the bus. Don’t be afraid to experiment with bus processing to find a vibe that fits the song.”
Before & After: A/B Comparisons
Want to hear the difference each step makes? I always check my work by toggling the plugins on and off—here’s how it sounded:
-
All Plugins Off: Raw tracks, no EQ/balance, straight from the recording.
-
All Plugins On: Full SSL 4K processing on every channel plus bus; the drums were punchy, focused, and alive.
DAW screenshot of the A/B plugin bypass on the drum channels.
What’s Next?
That wraps up part one—the foundation of the mix with the drums.
In the next post/video, we’ll cover bass and guitars, showing off more of the SSL bundle, specifically the 4K-E channel strip and other specialty plugins.
Make sure to subscribe or follow so you don’t miss out!
Additional Resources & Special Offers
Love what you’re seeing here? I’ve got more ways for you to learn and level up:
-
Mixing With Analog Style Plugins Made Easy: Full Course
Use discount code YOUTUBE25 for 25% off! -
Free Mixing Course from Home Recording Made Easy
Grab yours now—the link is right on the homepage. -
James D. Cooler’s Music – “Imaginary Fears”
Check out his links in the video/blog description for more on the artist behind the track.
Visual of the course homepage or coupon code graphic.
Final Thoughts
Drums are the heartbeat of any track. Nailing them with the right plugins and the right moves sets the tone for everything that follows.
Key takeaways:
-
Get it right at the source—a well-recorded kit makes mixing a breeze.
-
Small EQ/comp moves on SSL 4K go further than you might expect.
-
Take advantage of specialty plugins like Drum Strip for extra polish.
-
Always A/B your changes to check you’re headed in the right direction.
And don’t be afraid to try things you haven’t before—SSL Native’s bundle is packed with options that reward experimentation.
Thanks again for joining me for Part 1. Drop your questions, comments, or suggestions below—let me know what you’re digging, and what you want to see next. Don’t forget to check out the next part in the series for bass and guitars!
Until next time, happy mixing!
—Dave @ HomeRecordingMadeEasy.com
P.S. Don’t forget to like, share, and subscribe if you enjoyed this tutorial. Your support helps keep the content coming! See you in Part 2!

