
4 Real Mixing Decisions Behind a Professional-Sounding Mix

Inside the Session
Four in-the-moment calls, caught on camera during a real mix session, that separate a mix that sounds finished from one that just sounds loud.
Coach David Vignola· Mentored under Michael White (The Rolling Stones, Whitney Houston)

Ever notice how some home mixes sound thin, no matter how many plugins get thrown at them, while others sound finished in half the time?
That difference usually comes down to the decisions made before anyone touches a plugin, not the gear itself.
We pulled four of those decisions straight out of a real mix session from The Mixing Academy. You can watch the full session on YouTube, then come back for the breakdown below of not just what happened at each moment, but why, since the why is what actually transfers to your own mixes.
None of this requires exotic gear. It just takes knowing which call to make and when.
In This Breakdown
- How to Make an Instrument Stand Out in a Mix
- Tape Saturation as Compression
- How to EQ Layered Instruments Without a Muddy Mix
- How to Make Vocals Sound Fuller and More Open
How to Make an Instrument Stand Out in a Mix
Before a single plugin gets loaded, every mix starts with the same question: what's actually going to lead this song?
It's tempting to skip that question and go straight to technical work: pull up an EQ, hunt for problem frequencies, reach for a compressor. But technical work without a decision behind it just makes everything a little better at once, which usually means nothing stands out. A mix is a hierarchy, and somebody has to decide what sits at the top of it.
In this session, that meant choosing between the piano and the electric guitar, both of which were present throughout the chorus.
The call was made almost instantly, before any processing happened, because the lead vocalist is also the piano player on this track, so the piano was always going to carry more weight than the guitar part. That's less a technical decision than an editorial one, and every other choice in the mix now has to support it.
07:17 in the session"I just know I'm gonna wanna feature her piano more than I'm gonna wanna feature an electric guitar. Without a doubt."
Once the piano was locked in, the processing goal changed completely. It didn't need to be louder or brighter; it needed to sit.
A single LA-2A (the "silver" variant) was enough: no elaborate chain, just enough gentle leveling to grab the loudest peaks and tuck the piano transparently into the pocket. The electric guitar stayed exactly what it was always going to be, a filler part in the chorus that stayed present without ever competing for attention.
This is the part beginners tend to get backwards. The piano didn't get "better" processing than the guitar; it got processing in service of a decision, while the guitar got just enough to stay out of the way.
Try This In Your Own Mix
Before you touch a single plugin, name the one instrument or vocal that has to lead. Say it out loud if you have to. Everything else, including levels, EQ, and compression, exists to support that decision instead of competing with it.
Tape Saturation as Compression
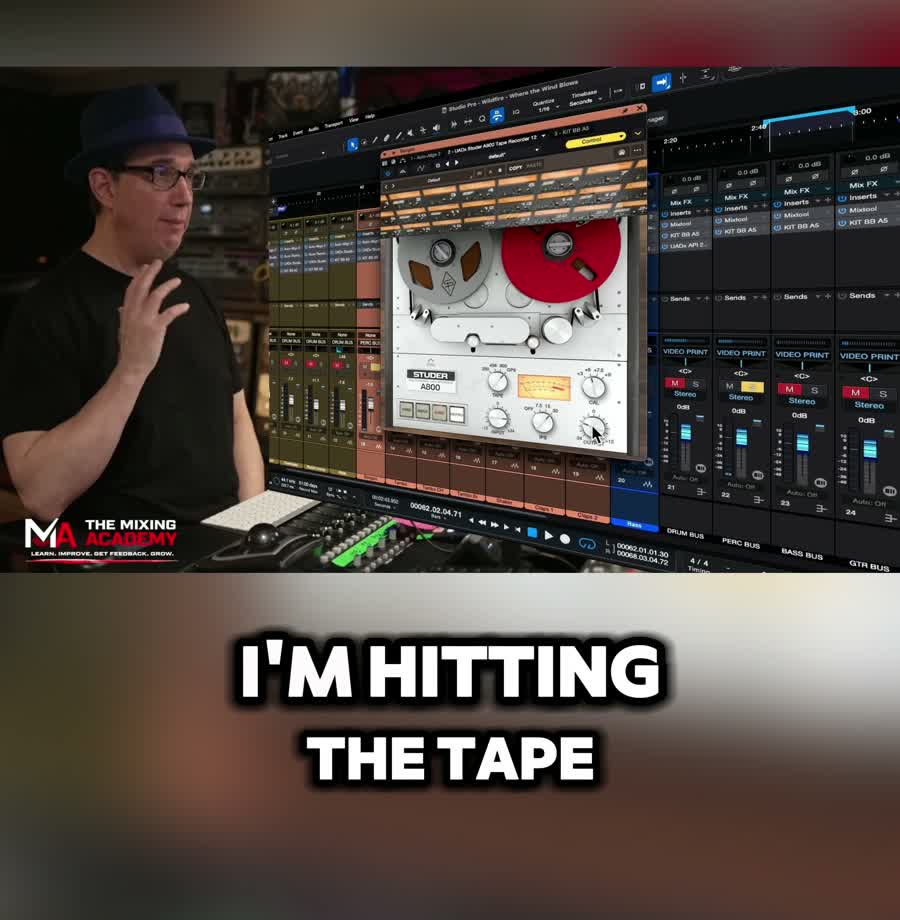
Here's a technique most home studios skip entirely: using tape saturation as a compressor, not just as a coloring tool bolted onto the end of a chain.
The instinct in a home studio is usually to reach for a compressor plugin first and treat saturation as a subtle flavor added afterward, if it gets used at all.
In this session, that order gets flipped. Tape machines were pushed hard across the tracks, about 12 to 15dB hotter than a conservative level, with the output leveled back down to match.
That wasn't a mistake left in during a rough pass; it was the entire point of the move.
00:44 in the session"I'm using the tape machine as a foundation for compression… this does more for that than the actual plugin does."
Tape doesn't just sit there passively passing a signal through.
The harder you drive it, the more it compresses, since the transfer characteristic naturally rounds off peaks the hotter the input gets, which is a genuinely different compression curve than most digital compressors produce.
On top of that, tape adds harmonic content and a small amount of high-frequency smoothing, closer to running a signal through an actual analog console than an API style plugin emulation alone can fully replicate.
The practical payoff is that less compression is needed downstream.
If the tape stage already did real dynamic work, a compressor plugin afterward can be used more conservatively, for shaping and character rather than for controlling dynamics that are already handled.
Try This In Your Own Mix.
If you're using a tape emulation plugin, don't treat the input knob as decorative. Push it harder than feels comfortable, bring the output level back down to compensate, and listen for what changes in the transients before you reach for a compressor.
Want to see this move happen in real time? Jump to this part of the session
How to EQ Layered Instruments Without a Muddy Mix
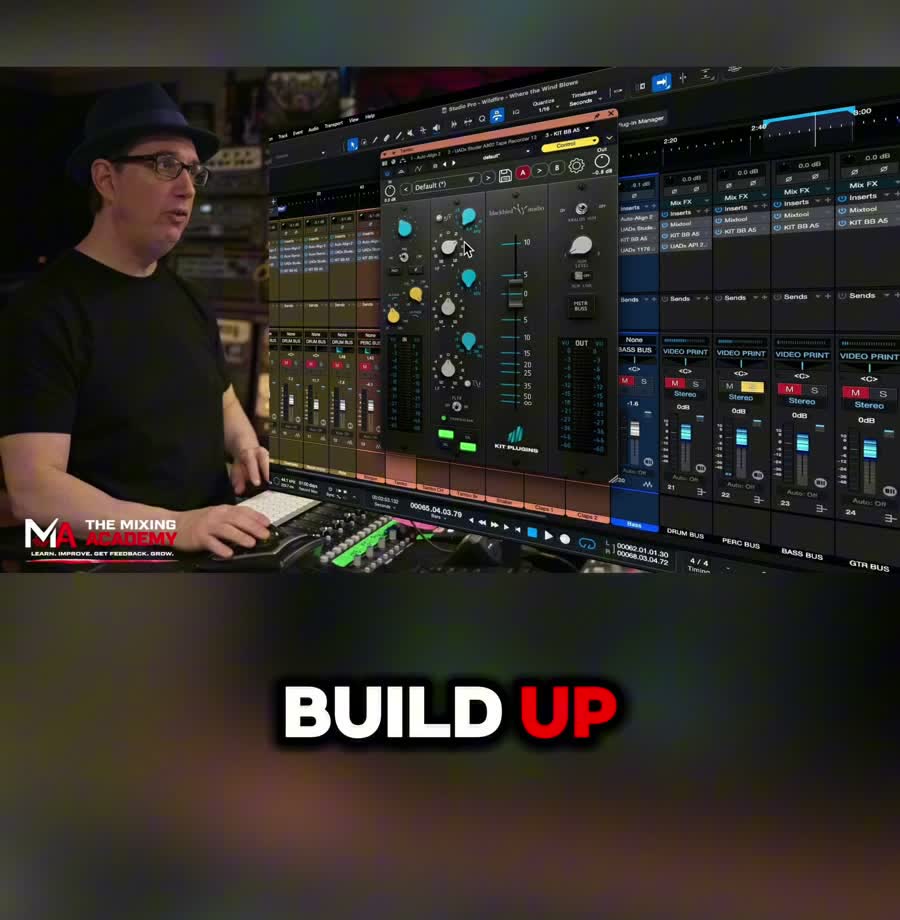
When multiple percussion parts play at the same time, bongos and tambourine, for example, the instinct is to reach for the same EQ move on each one: boost the top end for clarity, because brighter usually sounds "better" in isolation.
Do that across every layered part, though, and you get the opposite of clarity, since everything piles into the same frequency range at once, and instead of several distinct instruments, you get one smeared mass of high end.
The fix in this session was simple and easy to miss because it shows up as a restraint rather than a dramatic setting.
Instead of stacking boosts in the same place, the boosts got spread across the spectrum, with the bongos getting a boost around 5k while the tambourine got its boost closer to 10k.
Neither instrument lost its brightness, but because the two boosts didn't overlap, nothing competed for the same sonic real estate.
02:08 in the session"I'm careful to not boost the same frequencies on all these instruments… you don't want too much buildup. Try to spread that top end out a little, 'cause these are all playing at the same time."
This is a version of a broader principle: frequency masking gets worse the more instruments occupy the same range at once.
It's easy to EQ an instrument in isolation and have it sound great soloed, only to hear the whole group turn to mush once everything plays together.
Try This In Your Own Mix
Before EQing layered instruments that play simultaneously, map out roughly where each one currently lives in the frequency spectrum. Give each boost its own lane instead of defaulting to the same "make it brighter" frequency on everything.
How to Make Vocals Sound Fuller and More Open
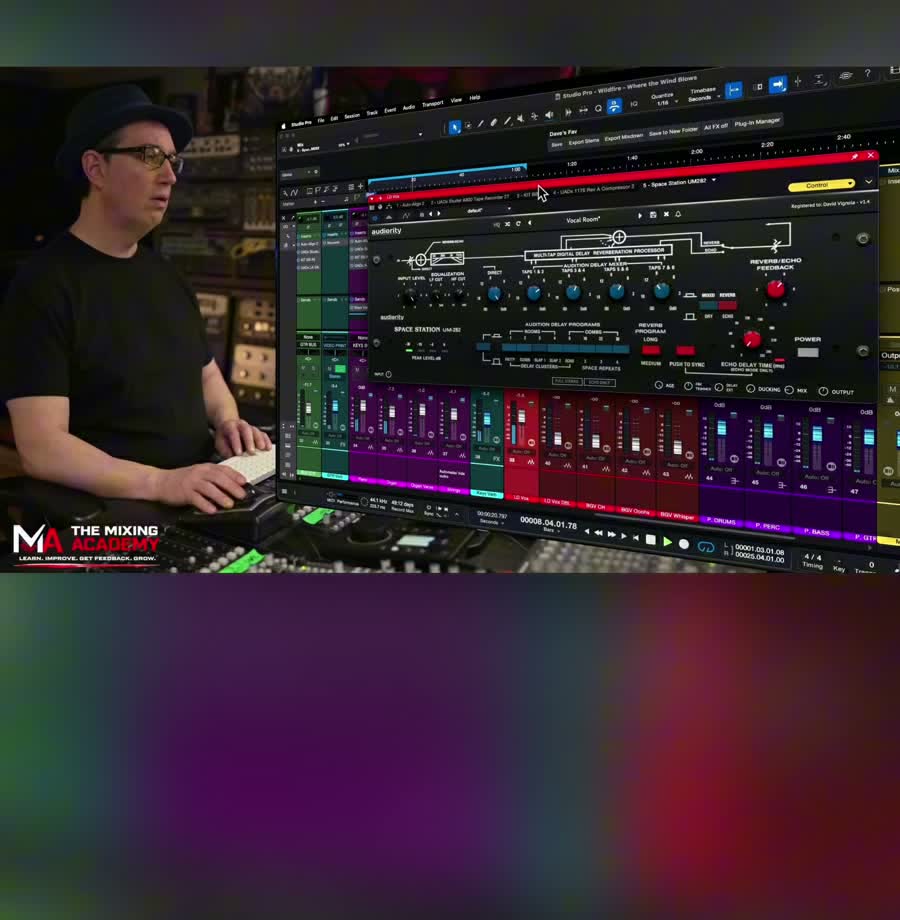
Sometimes a vocal is technically fine, EQ'd well, compressed appropriately, and sitting at a reasonable level, and it still feels thin, small, or closed in compared to the rest of the mix.
That's usually not a tone problem you can EQ your way out of; it's a reverb problem instead.
In this session, the lead vocal had already been through EQ (a boost around 10k, some reduction around 300Hz, a low-end roll-off) and compression, and it still wasn't quite there.
A couple of reverb presets were tried and rejected in real time before landing on the Vocal Room preset on the Audiority Space Station UM-282, a plugin modeled on the vintage Ursa Major Space Station unit and known for ambient, spacious character rather than a tight, obviously "wet" sound.
15:14 in the session"It gave it that fatness and that openness… I don't know if this is gonna work, let's just see."
Once the right preset was identified, the wet and dry mix got pulled down to roughly 10 to 15 percent, and that number matters more than it might seem.
At a high mix percentage, this kind of reverb reads as an obvious effect, a wash sitting on top of the vocal rather than inside it. At 10 to 15 percent, the same reverb stops sounding like an effect and starts sounding like a property of the vocal itself: fuller, more three-dimensional, with no audible "verb tail" pulling focus away from the performance.
Just as instructive as the reverb choice is what happened right before it. The first preset tried didn't work, since the mix level jumped too high the moment the preset changed, so it was abandoned within seconds.
That's not a failure so much as a normal part of how real mixing decisions get made: try it, listen, reject it fast if it isn't working, and move on.
Try This In Your Own Mix
If a vocal feels thin after EQ and compression, resist the urge to add more EQ. Try a reverb with a different character, something more ambient than tight, and pull the mix level down until it thickens the tone rather than washing the vocal out.
Quick Recap
- 01. Decide what leads before you process anything. Piano over electric guitar, then one simple LA-2A move to support that choice.
- 02. Let the tape do compression work before a plugin does. Push it hot, level-match the output, and use less compression downstream.
- 03. Spread EQ boosts across layered instruments instead of stacking them, so bongos at 5k and tambourine at 10k don't fight for the same space.
- 04. Reach for reverb, not more EQ, when a vocal feels thin. The Vocal Room preset at a low mix percentage adds fatness without washing anything out.
Ready to Mix Like This Yourself?
These four decisions are exactly the kind of real, in-the-moment thinking we teach inside The Mixing Academy. Use code ME25OFF for 25% off any single-title course.
Join The Mixing Academy Watch the Full Session
Until next time!

